Chapter 1 Connect GitHub to Zenodo
Time required: 2-3 minutes
1.1 Step 1: Create Your Zenodo Account
1.1.1 Sign Up with ORCID (Recommended)
- Go to zenodo.org
- Click “Sign up” in top right
- Choose “Sign up with ORCID” for academic credibility
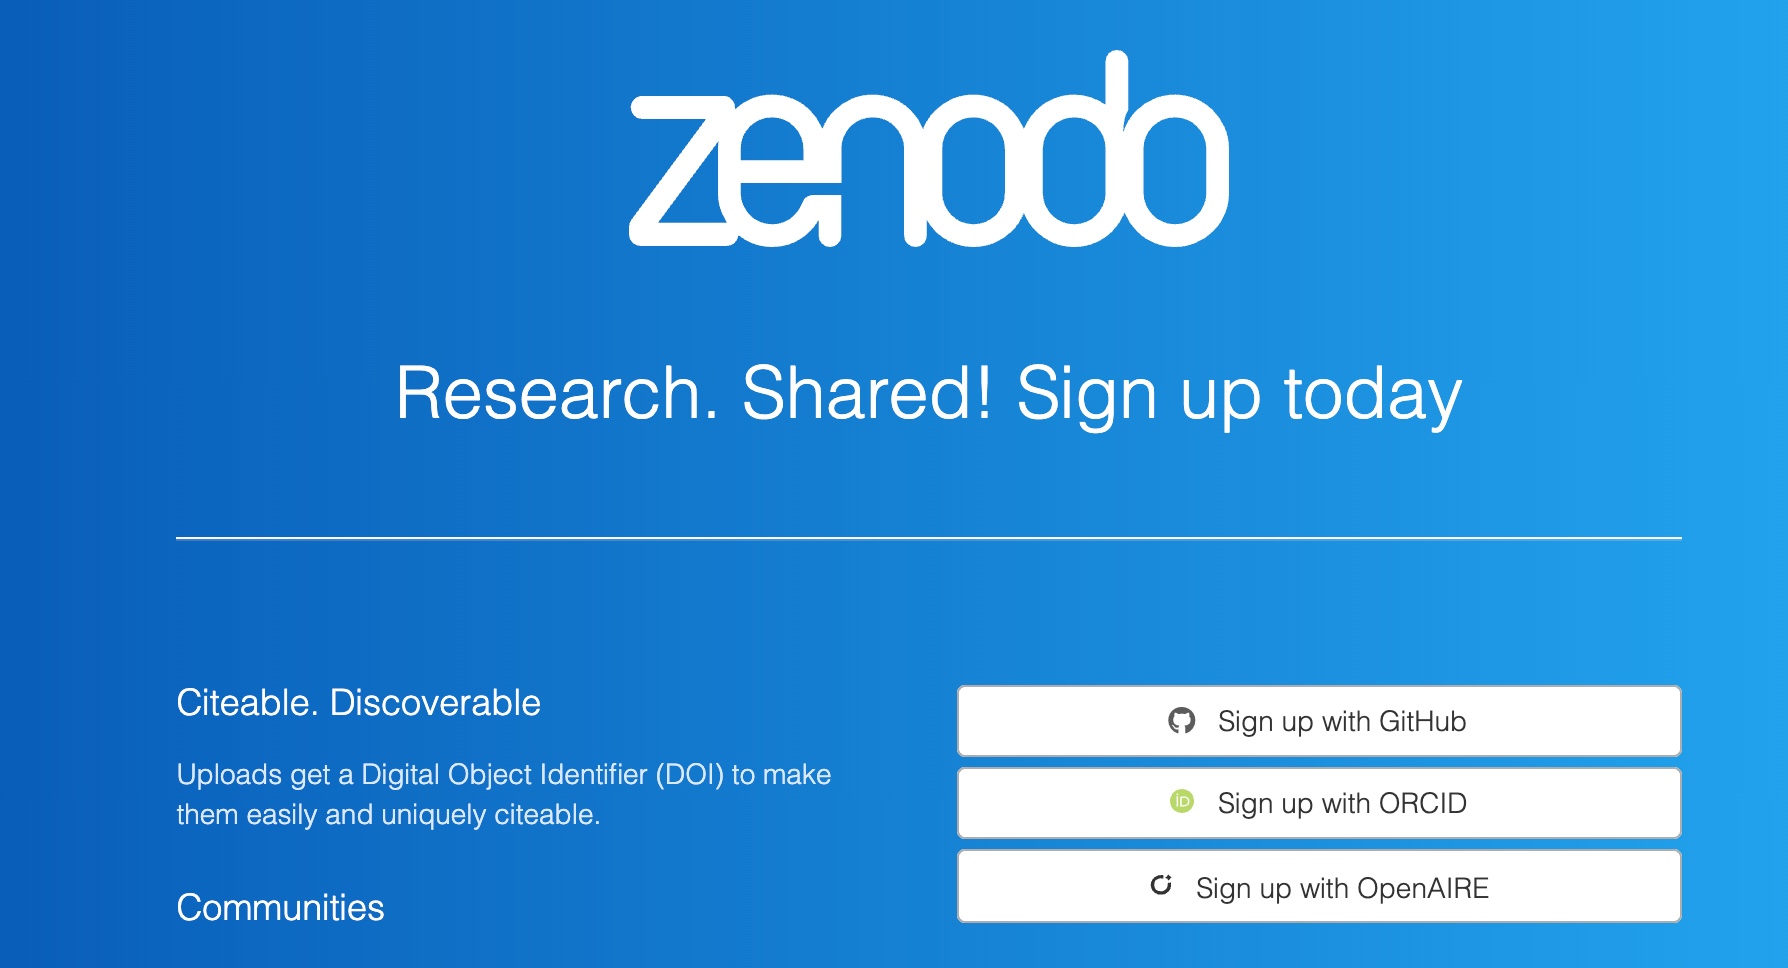
💡 Pro tip: ORCID integration automatically fills your academic profile and links publications
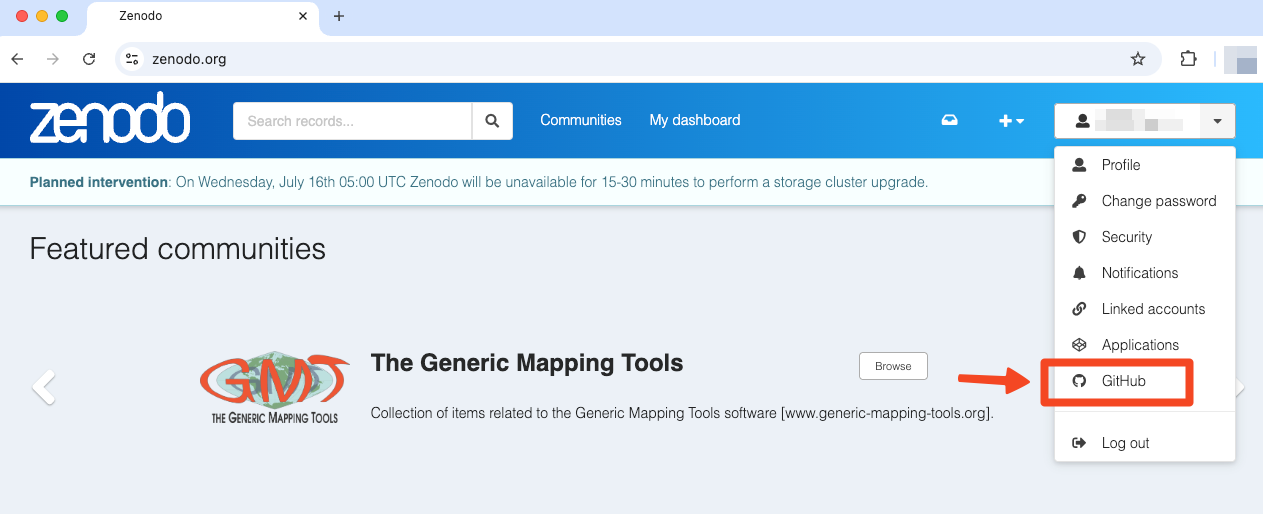
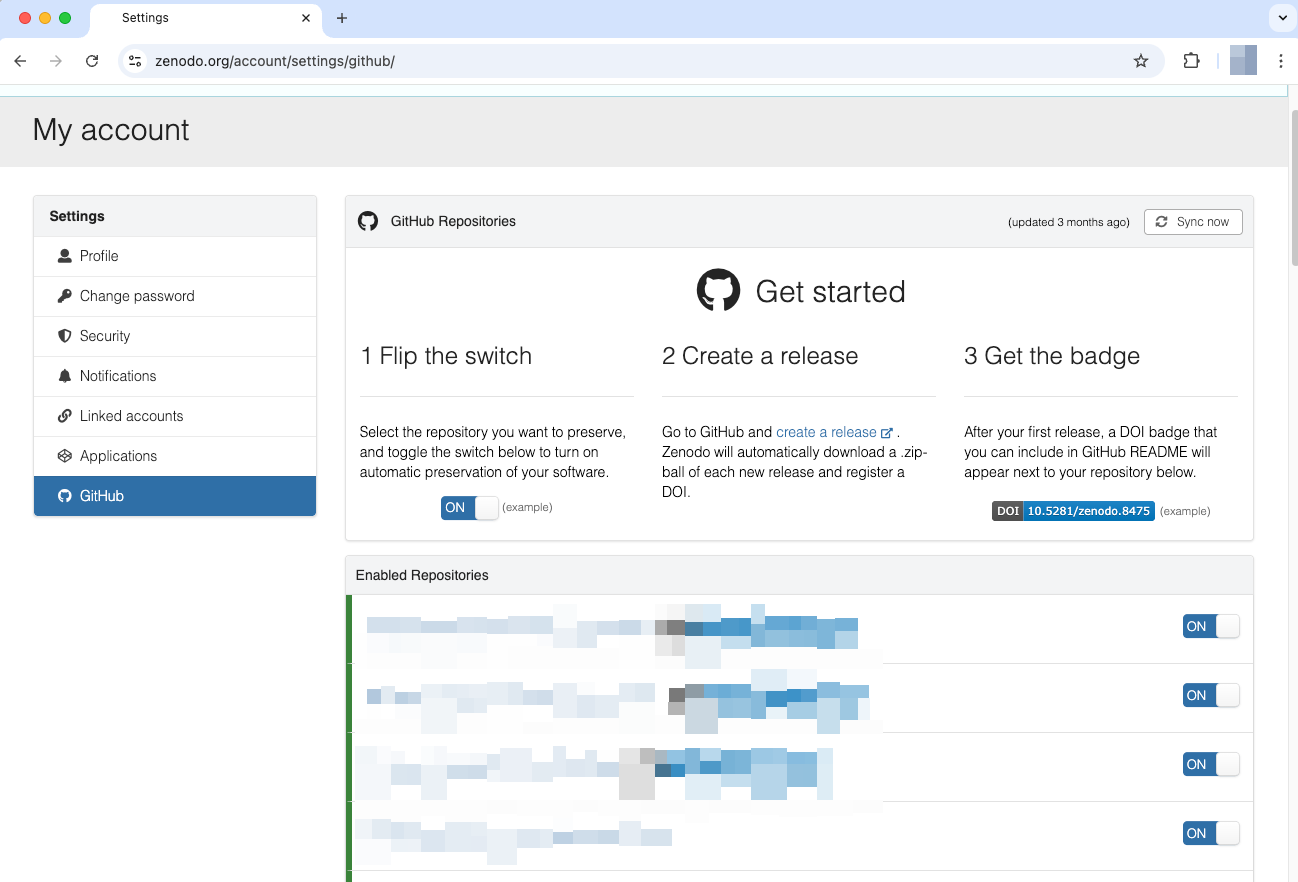
1.3 Step 3: Enable Your Repository
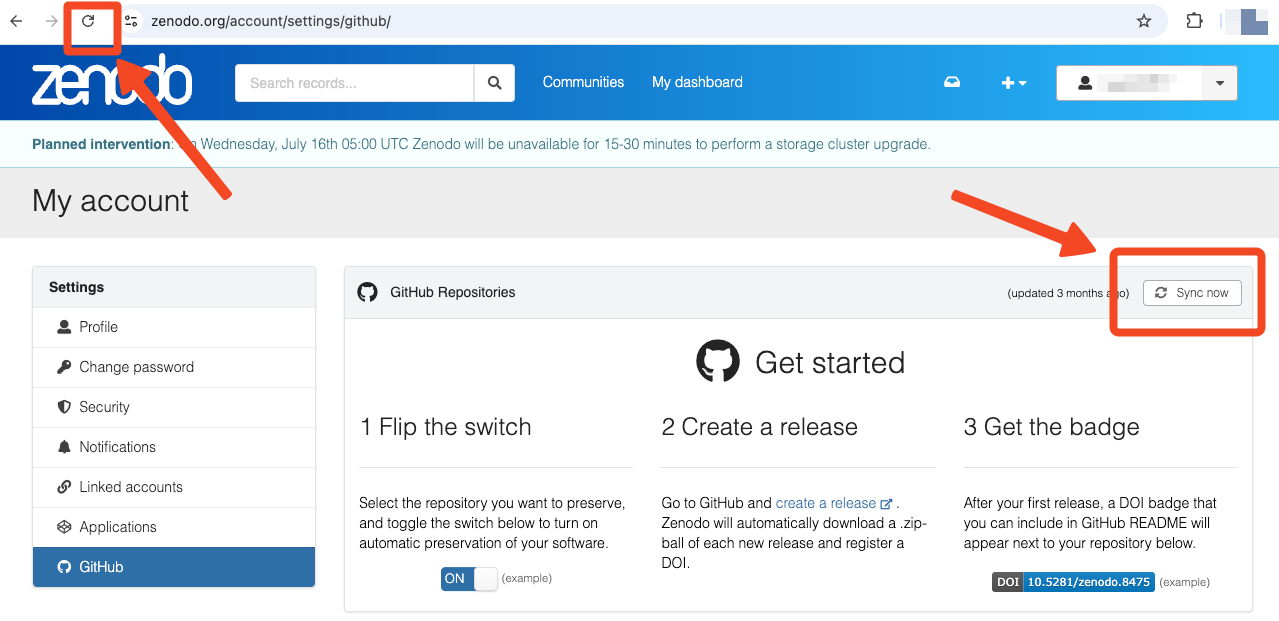
1.4 Troubleshooting
Repository not showing?
- Make sure it’s public (Zenodo can’t access private repos)
- Try clicking the browser’s refresh button and/or the “Sync now” button
Connection failed?
- Check your GitHub email is verified
- Try disconnecting and reconnecting GitHub
🎉 Chapter 1 Complete! Your repository is now connected and ready for archiving.
Next: Create your first archive and get that DOI!